Instructions
How to Apply Your Lunchbox Decal
Attaching your lunchbox decal is easy – but it’s a good idea to read these instructions first. From start to finish. It’s a simple, easy process but you only get one chance to get it right! 🙂
- Only attach your decal to a smooth, shiny surface. It will not stick to textured surfaces.
- Keep it clean! Thoroughly clean your hands and the surface of the lunchbox. Make sure it’s free of wax, oil, grease, dirt, and dust.
- Don’t touch the decal sticky side – oils from your skin will reduce its “stickability”. You can touch the clear plastic “transfer” sheet without issue, but not the decal itself.
- Have a credit card (or similar e.g. drivers licence) and a soft cloth handy.
The most important rule: Don’t rush!
Video
Step-by-Step Instructions
- Check the front of your decal. If there are any ripples or bulges caused in transit, gently scrape over the front of it to “burnish” it. Use your driver’s licence or credit card and take out any bubbles or creases, moving from the centre to the edges. Be sure to place your decal on a hard flat surface like a table.
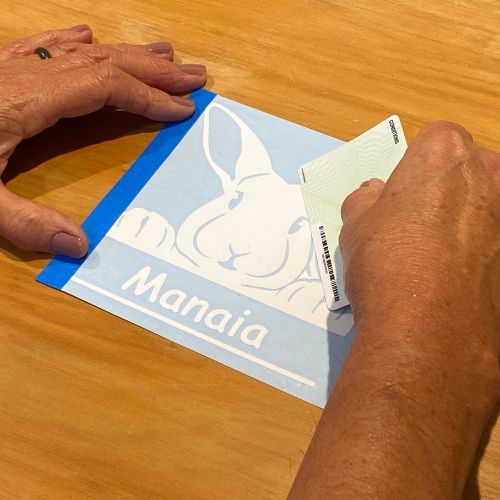
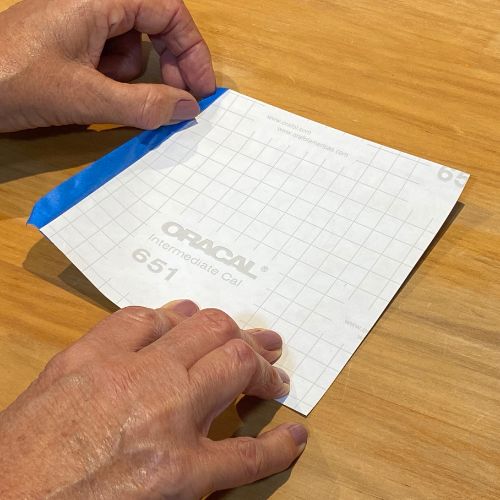
- Peel the blue masking tape back from along the reverse side of your decal (leaving it still attached along the front).
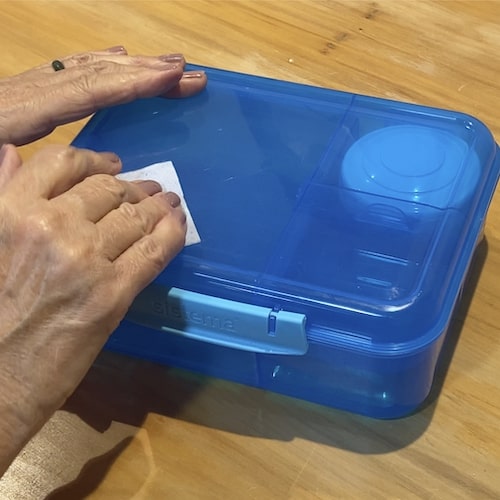
- Thoroughly clean the surface of the lunchbox.
- Use the masking tape to attach the edge of the decal onto the lunchbox lid. You can lift and reattach the masking tape to get your decal exactly how you want it.
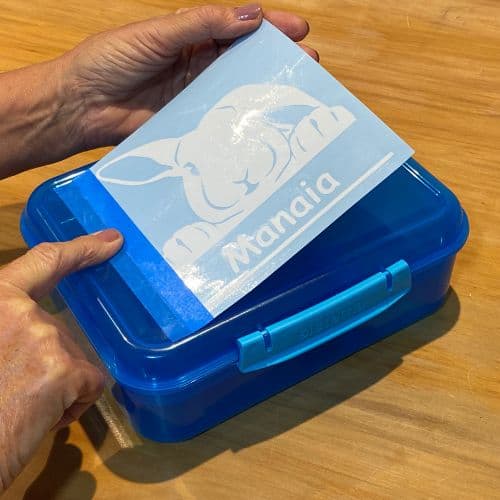
- Flip over the decal using the masking tape as a hinge and start removing the paper backing SLOWLY, beginning at a corner next to the masking tape. As you gently pull away the backing paper, MAKE SURE ALL THE DECAL PARTS STAY DOWN ON THE CLEAR TRANSFER LAYER BENEATH. Go slowly and try to slide the backing paper along the transfer layer (NOT up at 90o). If any part of the decal stays on the backing paper (not uncommon), flip over the decal and burnish again with your finger or credit card.
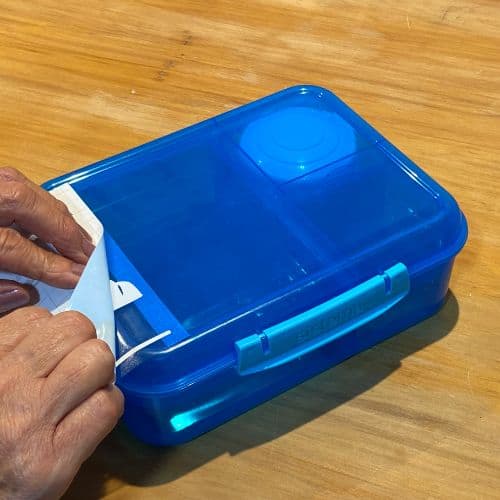
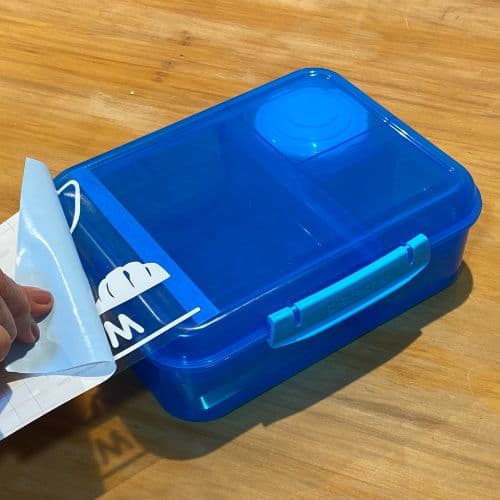
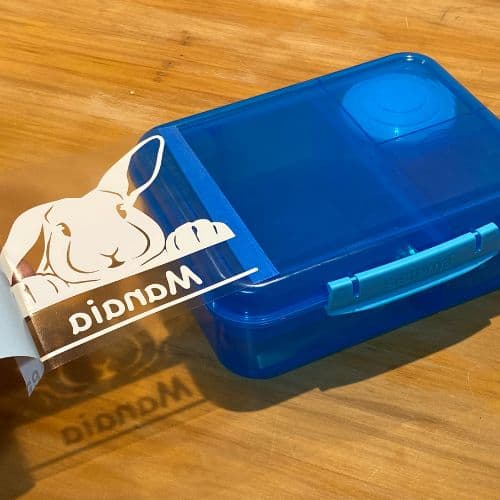
- When the backing paper is fully removed, swing the decal back over the lunchbox lid. Keep the decal taut and be extra careful to keep it from touching down before you’re ready. Once your decal makes contact it’s pretty hard (read impossible!) to get it off without damaging it.
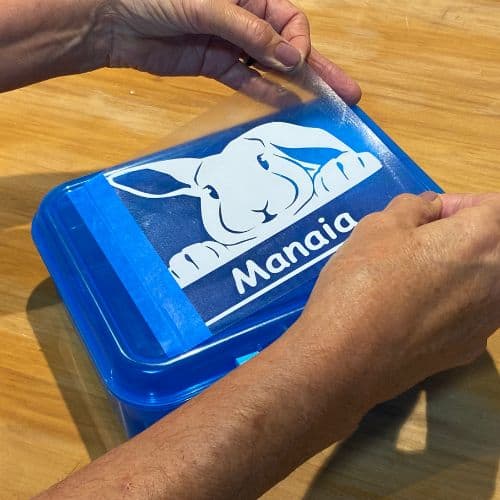
- Start to apply the decal BEGINNING IN THE CENTRE AT THE MASKING TAPE and using your credit card or licence. Move slowly across the centre of the decal, fanning either side of the centre line, working outwards to the edges.
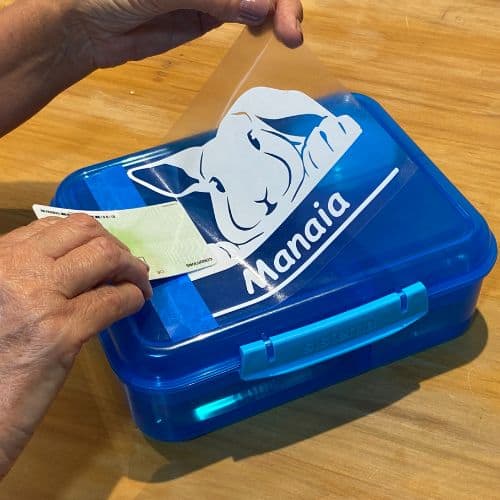
Go SLOWLY and CAREFULLY. Do small amounts at a time.
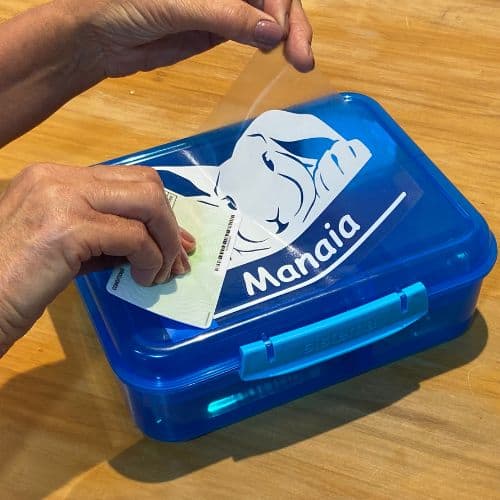
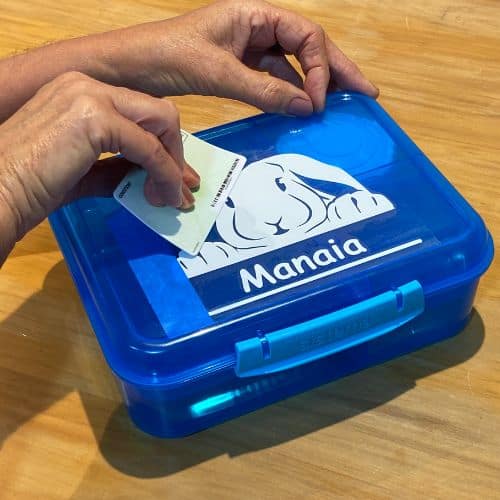
- Do a further burnish from the centre out to each side eliminating any air bubbles. Make sure the entire decal is fully adhered to the surface.
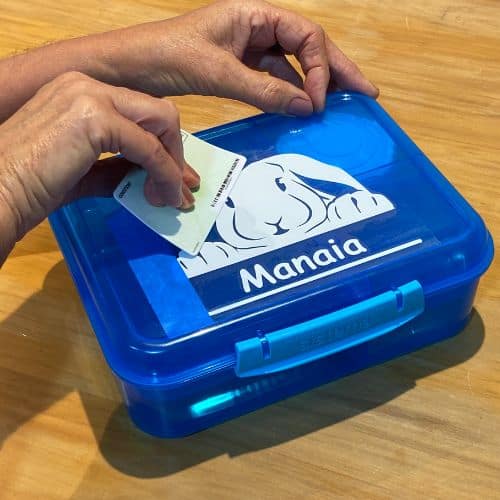
- Slowly remove the top transfer layer, making sure all parts of the decal are released and remain attached to the lunchbox. IMPORTANT: Slide the transfer layer across the surface of the lunchbox, not out (or you’ll pull the decal off). The closer you can keep the transfer layer to the lunchbox as you pull, the better.
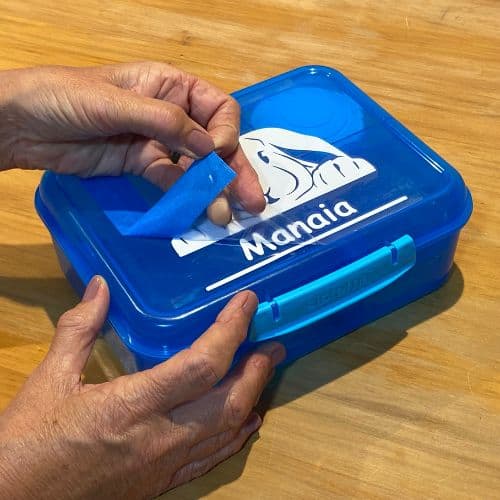
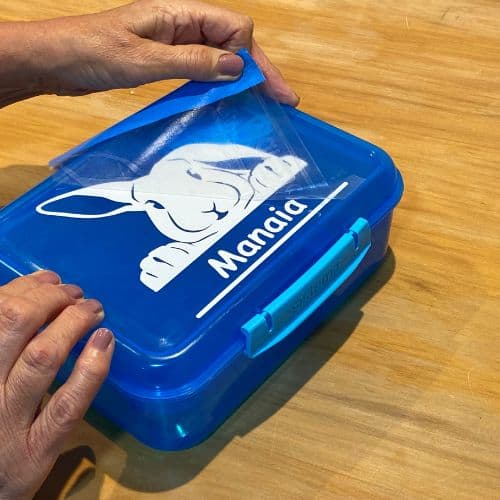
- Smooth over the decal using a soft cloth.
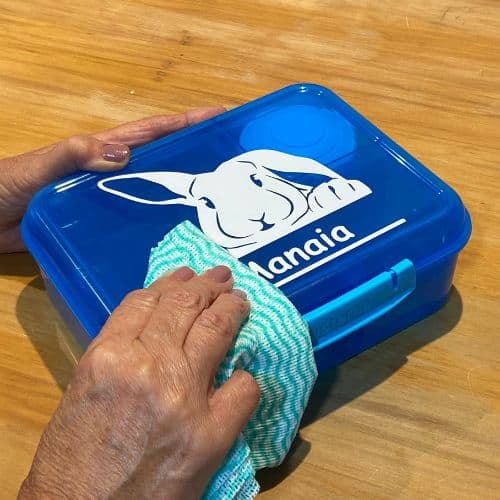
- Check for air bubbles. In most cases air bubbles can be worked to the edge of the decal, but if not, a pin hole will allow the air out and be virtually invisible. Often air bubbles disappear after several days.
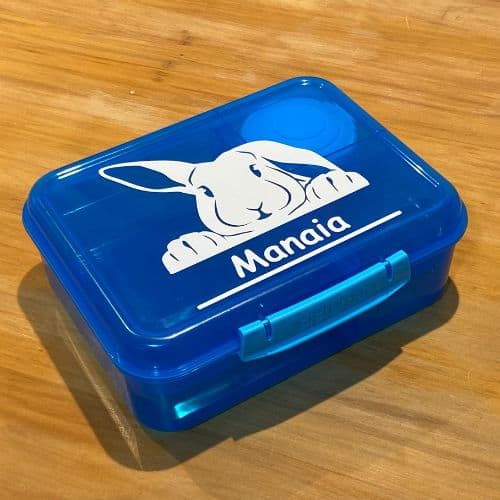
- If you have any questions please get in touch and we’ll be happy to help.
